
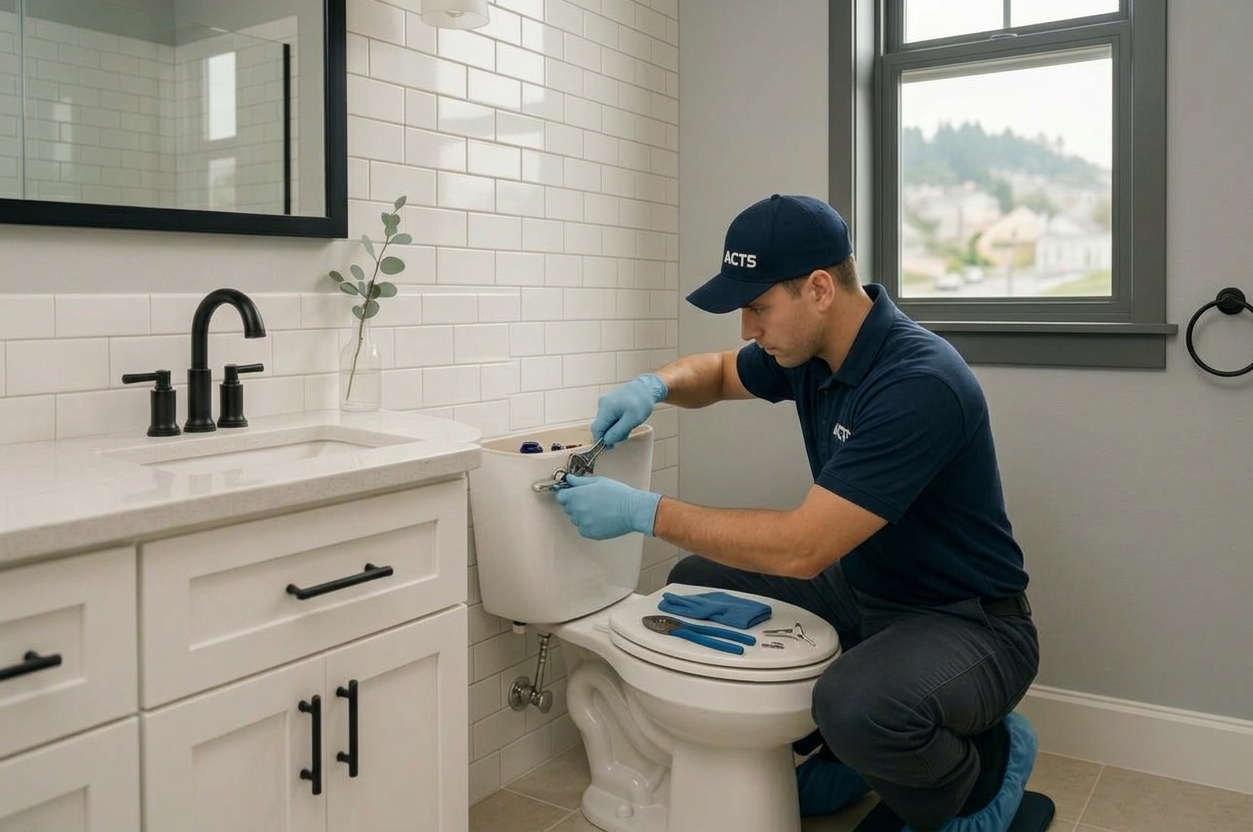
Water Is Coming From the Base of the Toilet—What Do I Do? A Bay Area Home Maintenance Guide
If water is pooling at the base of your toilet, stop using it, close the shut‑off valve at the wall, and blot up the water. Next, watch what happens during a single test flush. If water appears only during or right after a flush, you’re likely dealing with a failed wax ring or a problem at the toilet flange/bolts—not a supply line or tank leak [4]. If the water is brown or gray and foul‑smelling, treat it as sewage and avoid contact; that’s a health hazard and calls for professional cleanup and plumbing help [5].
Below, the ACTS team walks you through quick diagnosis, when a DIY reset makes sense, and when to call a pro—tailored for homes from San Francisco to Hillsborough.
What to Do Right Now
- Shut off the water and contain the leak
- Turn the angle stop (the small valve at the wall) clockwise to close.
- Don’t flush again.
- Blot up water so you can see fresh leaks clearly. If the water is discolored or odorous, minimize exposure and arrange professional cleanup due to health risks from sewage [5].
- Quick source check (takes 3–5 minutes)
- Dry the toilet exterior completely.
- Check the shut‑off valve and supply connector for drips.
- Look under the tank at the tank‑to‑bowl bolts and the large gasket where the tank meets the bowl.
- Now perform one test flush:
- If water shows up only at the floor during or after the flush, the wax ring or flange/bolts are the likely culprits [4].
- If you see steady drips at the shut‑off, supply line, or tank connections, you’re dealing with a supply or tank‑to‑bowl issue, not the floor seal [4].
Bay Area note: San Francisco runs a combined sewer that carries both wastewater and stormwater. During heavy rains, system loads increase, which can raise backup risks in susceptible properties. If you suspect a backup (gurgling drains, multiple fixtures affected), pause use and call a pro [6].
How to Tell If It’s the Wax Ring or the Flange
- Leaks only when flushed: A strong indicator the floor seal (wax ring) has failed or the flange/closet bolts aren’t sealing correctly [4].
- The toilet rocks: Movement breaks the wax seal. A correct reset includes eliminating wobble with shims and properly tightening the bolts [4].
- Flange height matters: Best practice is for the closet flange to sit on top of the finished floor so the seal compresses reliably [4]. A flange that’s too low after a remodel often causes chronic weeping at the base.
- Repeat leaks after a recent reset: The flange may be damaged, misaligned, or below floor height and may need a spacer or a repair ring—work that’s often better for a pro [4].
DIY‑Inclined? A Proper Toilet Reset, in Brief
If you’re comfortable with basic plumbing tasks, resetting a toilet is a reasonable DIY for many homeowners. Here’s the overview:
1) Prep safely
- Close the angle stop, hold the handle to drain the tank, and sponge out remaining water from the tank and bowl to prevent spills.
- Protect the floor with towels or cardboard.
2) Remove the toilet
- Disconnect the supply line.
- Cap the drain opening or stuff it with a rag once the toilet is lifted to block sewer gas.
- Inspect the old wax and the flange. Look for cracks, rot at subfloor edges, or a flange sitting below the finished floor height.
3) Address flange issues first
- If the flange is intact but low, install approved spacers; if cracked, use an approved repair ring. Do not rely on extra‑thick wax alone to compensate for serious height or damage problems [4].
4) Set a new seal and reinstall
- Replace closet bolts.
- Choose a new wax ring (or approved wax‑free seal), center it on the flange, and lower the bowl straight down in one motion.
- Press firmly to compress the seal, shim to remove any wobble, and snug the nuts evenly. Do not overtighten—porcelain can crack [4].
5) Reconnect and test
- Reattach the supply, open the valve, and perform several test flushes while inspecting around the base and under the tank for any weeping.
6) Finish
- After confirming it’s dry, consider caulking around the base to make cleaning easier and reduce bacteria buildup; many pros leave a small gap at the rear to help spot future leaks. Treat caulking as a best‑practice recommendation unless your local inspector requires otherwise [4].
When to Call a Licensed Plumber
- The toilet still rocks after shimming, or leaks persist after a reset [4].
- The flange is damaged, loose, or significantly below finished floor height and needs repair/spacers [4].
- You suspect a cracked bowl or tank.
- You see signs of sewage (brown/gray water, odor) or multiple fixtures are backing up—this is a health concern and needs prompt, proper cleanup and mitigation [5].
- You’re in a lower‑than‑street‑level space or have a history of backups during storms. In San Francisco’s combined sewer areas, discuss backwater valve protection and your private sewer lateral’s condition with a pro. Homeowners are responsible for their private laterals; SFPUC provides guidance and asks residents to contact 311 when lower lateral issues are identified [2][6].
Permits, Replacements, and Efficiency: SF–Peninsula Notes
- San Francisco permits
- Like‑for‑like toilet replacement in SF typically does not require a plumbing permit—unless the building uses alternate water piping (for example, recycled water or graywater). If alternate water is present, a permit is required [1].
- Hillsborough and nearby Peninsula cities
- Permit rules can vary by jurisdiction. Before starting a like‑for‑like swap, confirm with the Town of Hillsborough Building Division whether a plumbing permit is required.
- Choosing a new toilet
- Any toilet sold or offered for sale in California must use no more than 1.28 gallons per flush. Look for WaterSense‑labeled models to meet Title 20 and local water‑efficiency expectations [3].
Bay Area Watchouts That Can Look Like “Base Leaks”
- Tank “sweat” (condensation): In cool, damp months, a chilly tank can collect condensation that drips down the bowl and onto the floor. Dry everything thoroughly and watch during a single flush test to distinguish condensation from an active leak. If water reappears only during or after the flush from the base seam, it’s likely the wax/flange—not condensation [4].
- Wet‑weather surges: During significant storms in SF’s combined sewer system, slow drains and gurgling can signal system stress; ensure fixtures on lower levels are protected, and ask a pro about a backwater valve if you’ve experienced backups before [6][2].
A Simple Decision Guide
- Likely DIY: You see water at the base only during or after a flush; the toilet rocks slightly; the flange looks intact and close to finished‑floor height. Plan a careful reset with a new seal, fresh closet bolts, and shims, then test thoroughly [4].
- Call ACTS: The toilet still wobbles after shimming; the flange is cracked or too low; the leak returns; the water appears to be sewage; or multiple fixtures show symptoms of a backup. Sewage exposure is unsafe and should be handled promptly and correctly [5]. If a lateral issue is found in SF, coordinate with 311 per SFPUC guidance [2].
Why This Matters
A compromised wax seal doesn’t just make a mess—it can allow wastewater to escape around the flange and subfloor, inviting odors, bacteria, and long‑term damage. In our wet, coastal climate, prompt, proper repairs protect your home and help keep your bathroom clean and odor‑free. Getting the flange height, bowl stability, and bolt tension right is the difference between a once‑and‑done repair and a recurring puddle [4].
Conclusion
When water shows up at the base of a toilet, act quickly: shut off, don’t flush, and check whether it’s a base‑only leak on flush (likely wax/flange) or a continuous drip from the supply or tank. Many homeowners can handle a careful reset, but persistent leaks, flange problems, or any hint of sewage call for a licensed plumber. If you’re in San Francisco, remember that like‑for‑like toilet replacements typically don’t need a permit unless you have alternate water piping, and any new toilet must be 1.28 gpf or less under California’s Title 20 [1][3].
Need help fast? Contact American Construction & Trade Specialists (ACTS). Our licensed plumbing team serves homeowners from San Francisco through Hillsborough. We’ll diagnose the cause, protect your home, and get your bathroom back to normal—safely and correctly.
References
[1] San Francisco Department of Building Inspection (SF.gov). "2025 Code Adoption - San Francisco Plumbing Code (SFPC) - Revisions and Updates to the 2022 SFPC." City and County of San Francisco. https://media.api.sf.gov/documents/2025_SFPC.pdf
[2] San Francisco Public Utilities Commission (SFPUC). "Sewer Laterals." SFPUC. https://www.sfpuc.gov/learning/emergency-preparedness/sewer-laterals
[3] California Energy Commission. "Appliance Efficiency Regulations – Title 20 (Title 20 Updated July 23, 2021)." California Energy Commission. https://www.energy.ca.gov/sites/default/files/2021-07/Title%2020%20Updated%20July%2023,%202021.pdf
[4] Oatey Co. "How to Fix a Leaking Toilet: Causes and Repairs." Oatey. https://www.oatey.com/faqs-blog-videos-case-studies/blog/how-to-fix-leaking-toilet
[5] United States Environmental Protection Agency (EPA). "Sanitary Sewer Overflows (SSOs)." US EPA. https://www.epa.gov/npdes/sanitary-sewer-overflows-ssos
[6] San Francisco Public Utilities Commission (SFPUC). "Our Combined Sewer." SFPUC. https://www.sfpuc.gov/about-us/our-systems/sewer-system/our-combined-sewer