
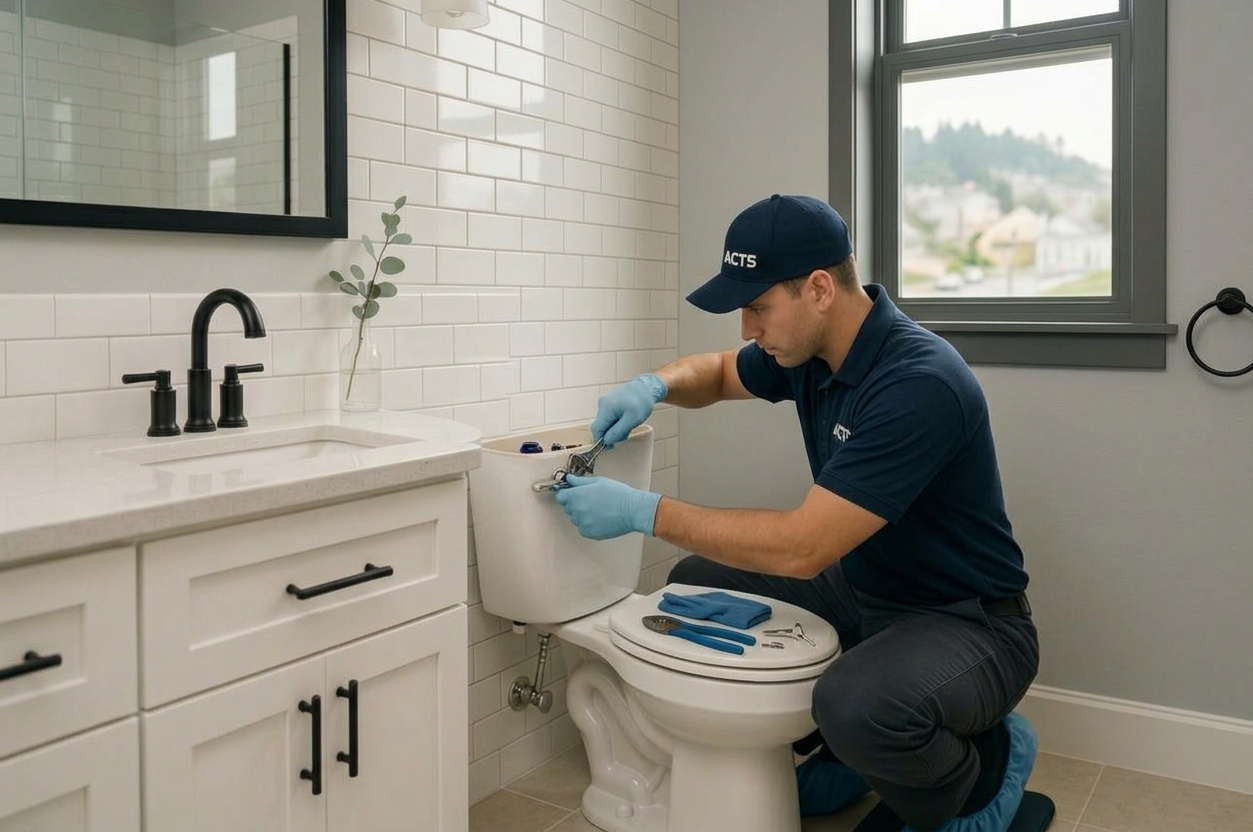
Toilet Flush Handle Not Working? A Bay Area Home Maintenance Guide to Fast Fixes and Water-Smart Checks
If your toilet handle stops working—or you have to “jiggle” it to get a flush—don’t panic. Most issues come from a simple, inside-the-tank problem you can diagnose and fix in minutes: a loose handle nut, a misadjusted chain, a worn flapper, or a bent/broken lever arm. These are the most common culprits flagged by local water agencies because they also lead to silent leaks and higher bills if left uncorrected [1].
What to check first (before you buy parts)
Remove the tank lid and watch what happens when you press the handle:
- Does the handle feel loose or fail to spring back?
- Does the chain lift the flapper, or is it disconnected or too slack?
- Does the flapper stick open or fail to seal after a flush?
- Is the lever arm bent, corroded, cracked, or rubbing the tank wall?
Those four causes account for the vast majority of “jiggle-the-handle” complaints [1].
Step-by-step fixes you can do today
1) Tighten the handle’s locknut—carefully
- What to do: Inside the tank, find the handle’s locknut where the lever passes through the porcelain. Gently tighten it so the handle sits firmly and returns smoothly.
- Key detail: Many toilets use a left-hand (reverse) thread on this nut—meaning you tighten by turning counterclockwise from inside the tank. Check your model’s instructions; not all models use reverse threads [3][4].
- Safety: Do not overtighten. Excess force can crack a porcelain tank [3].
2) Adjust or reconnect the chain
- What to do: If the chain is off, reattach it to the lever hole that gives a straight pull. With the flapper fully closed, set slight slack—about a 1/2-inch J-shape.
- Why it matters: Too tight holds the flapper open (toilet runs). Too loose won’t lift the flapper high enough to flush [3].
3) Inspect the trip-lever arm (replace if needed)
- What to check: Corrosion, cracks, or a lever that binds against the tank wall. Also check geometry: side-mount vs. angle-mount tanks may need different lever shapes.
- Replacement tips: “Universal” levers work in many tanks, but not all. Some brands and specific models—especially pressure-assist or certain designer toilets—require a model-specific trip lever. Check your toilet’s brand/model before buying [3][4].
4) Check the flapper and the fill level
- Signs of trouble: If you have to jiggle the handle to stop the toilet from running, the flapper may be worn or sticking.
- What to do: Replace a worn flapper, then confirm the refill level shuts off about 1 inch below the top of the overflow tube—too high can cause constant running [1].
- Prevent damage: Avoid drop-in chlorine/bleach tablets inside the tank; they degrade rubber and plastic parts (flappers, levers) and lead to premature failures [3].
After any fix: Verify with a dye test and protect your water bill
A quick dye test confirms you don’t have a slow leak costing water (and money).
- How to test: Add dye tablets or food coloring to the tank. Wait 15 minutes without flushing. If color appears in the bowl, there’s a leak to correct (often the flapper or chain) [1].
- Local resources:
- San Francisco (SFPUC): Free dye tablets, Water‑Wise Evaluations that can provide flappers/fill valves in some cases, and—in certain situations—a leak allowance after verified repair [1].
- Hillsborough area (Cal Water Bear Gulch): Free dye tablets and indoor leak‑finding guidance via conservation kits for customers [5].
- Code note for San Francisco: Leak detection testing of tank‑type toilets using dye tablets is a required conservation measure under SF Building Code Sec. 12A10 [2].
What’s actually wrong? A plain‑English explainer
- Loose or misadjusted handle/trip-lever locknut: The handle won’t return or doesn’t move the arm reliably. Tighten the nut and ensure smooth movement. Remember many are reverse‑thread; tighten counterclockwise from inside the tank (verify for your model) [3][4].
- Chain too tight or too loose: Incorrect chain length either holds the flapper open (running toilet) or fails to lift it enough to flush. Aim for 1/2 inch of slack with the flapper closed [3].
- Worn or sticking flapper: Rubber degrades over time, especially with in‑tank chemicals. Replace the flapper and recheck the fill level to stop constant running [1][3].
- Bent/broken or wrong‑geometry lever: The arm can seize, crack, or mismatch the tank’s angle. Replace with the correct lever for your tank; some models require brand‑specific parts [3][4].
Bay Area specifics: Water‑smart maintenance and local help
- Keep up with Home Maintenance: Replacing a worn flapper about every five years helps prevent silent leaks that can waste thousands of gallons annually [6].
- Use local programs:
- SFPUC: Request dye tablets, consider a Water‑Wise Evaluation, and ask about leak allowance eligibility after a documented fix [1].
- Cal Water (Bear Gulch/Hillsborough): Request a free indoor leak kit with dye tabs and instructions [5].
- Permits: Replacing a handle/trip lever is typically a like‑for‑like part swap that usually doesn’t involve piping changes. It is likely permit exempt, but always confirm before you start. In San Francisco, you can call the Department of Building Inspection’s Plumbing Inspection Division at 415‑558‑6570 (listed in the SFPUC permit guidebook) to verify your specific situation [7]. Hillsborough homeowners should check with the Town’s Building Division.
Safety reminders you shouldn’t skip
- Reverse threads: Many handle locknuts are left‑hand thread; tightening is counterclockwise from inside the tank. Forcing the “wrong” direction can damage parts. Verify your model’s instructions [3][4].
- Easy does it: Overtightening the locknut can crack a porcelain tank—snug is enough [3].
- Skip in‑tank chlorine: Drop‑in tablets deteriorate flappers and levers, leading to leaks and repeat failures [3].
When to call a professional
Contact a pro if any of the following apply:
- The handle or arm still binds or doesn’t return after proper adjustment.
- Your toilet uses a proprietary mechanism (e.g., pressure‑assist) or requires a model‑specific trip lever. Some brand models have unique parts and procedures [4].
- You see cracks or damage to the tank, or the lever geometry is clearly incompatible.
- The toilet still runs, fails the dye test, or won’t shut off even after replacing the lever and flapper—additional diagnostics of the fill valve, overflow height, or valve seat may be needed. In San Francisco, an SFPUC Water‑Wise Evaluation can help pinpoint the culprit [1].
Quick troubleshooting checklist
- Handle loose? Carefully tighten the inside locknut (check for reverse threads) [3][4].
- Chain off or too slack/tight? Reattach and set 1/2 inch of slack with the flapper closed [3].
- Flapper worn? Replace and confirm the waterline shuts off about 1 inch below the overflow tube [1].
- Still running? Perform a dye test; if color reaches the bowl, recheck the chain/flapper and fill valve settings [1].
- Using drop‑in tablets? Remove them and replace degraded rubber parts [3].
Conclusion
In most Bay Area homes, a nonworking or finicky toilet handle is a quick Home Maintenance fix—tighten the handle nut (carefully), set proper chain slack, swap a worn flapper, and confirm the fill level. Verify your repair with a dye test and take advantage of SFPUC or Cal Water resources to protect your water bill [1][5]. If adjustments don’t restore smooth operation—or you’re dealing with model‑specific parts, persistent running, or any signs of damage—professional help is the fastest, safest path.
Need a hand? American Construction & Trade Specialists (ACTS) serves homeowners from San Francisco through Hillsborough with plumbing repair and water‑smart upgrades. Contact us to schedule an assessment or get a quick quote.
References
[1] San Francisco Public Utilities Commission (SFPUC). "Leak Alerts: Find and Fix Leaks." SFPUC. https://www.sfpuc.gov/conserve-water/leak-alerts-find-and-fix-leaks
[2] City and County of San Francisco. "SEC. 12A10. REQUIRED WATER CONSERVATION MEASURES." San Francisco Building Code (via AmLegal). https://codelibrary.amlegal.com/codes/san_francisco/57e5f03c-2e0f-4ad9-8c7f-f6fef7e7e402/sf_building/0-0-0-1079
[3] Fluidmaster, Inc. "Installation Instructions – Toilet Tank Lever (Fluidmaster 680/681/682/683)." Fluidmaster. https://www.fluidmaster.com/wp-content/uploads/2016/12/683_installation_instructions_english-1.pdf
[4] Kohler Co. "Troubleshooting – KOHLER Pressure Assist Toilets (Trip Lever Is Disengaged) [Doc 1196260_17.pdf]." Kohler. https://resources.kohler.com/webassets/kpna/catalog/pdf/en/1196260_17.pdf
[5] California Water Service (Cal Water) – Bear Gulch District. "Look for Leaks: Indoors." Cal Water. https://www.calwater.com/conservation/leakonomics/look-for-leaks-indoors/
[6] U.S. Environmental Protection Agency (EPA) WaterSense. "Home Maintenance." U.S. EPA. https://www.epa.gov/watersense/home-maintenance
[7] San Francisco Public Utilities Commission (SFPUC). "GIG-PermitGuidebook.pdf." SFPUC. https://www.sfpuc.gov/sm/sites/default/files/programs/grants/GIG-PermitGuidebook.pdf